
Installation
Download the pixel_plausible.zip file from the last release assets.
Admin
Go to the admin module catalog section and click Upload a module. Select the downloaded zip file.
Manually
Move the downloaded file in the Prestashop modules directory and unzip the archive. Go to the admin module catalog section and search for "Plausible".
Configuration
From the module manager, find the module and click on configure.
See configuration options here => https://github.com/Pixel-Open/prestashop-plausible#configuration
Create the shared link in your Plausible settings for the site in Visibility > Shared links > + New link
Stats
In the Prestashop admin, the Plausible stats are available in the Statistics > Plausible menu.
Goals
The module includes goal events when enabled in module configuration.
- Contact message sent
- Account registration
- Cart view
- Checkout step X
- Order complete
You need to add goal events in your Plausible website configuration:
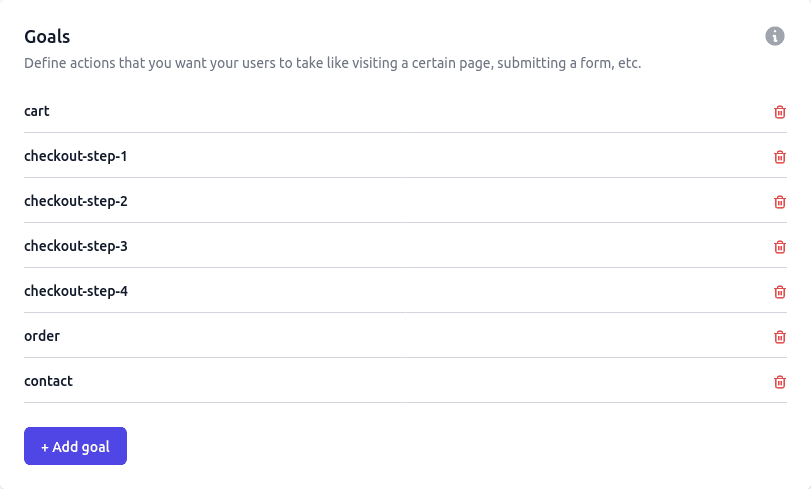
The Plausible goal name must be the same as the name in the Prestashop module configuration.
Default goal names are:
- contact
- register
- cart
- checkout-step-1
- checkout-step-2
- checkout-step-3
- checkout-step-4
- order
How to add a custom goal?
In any template or JS file, use the plausible method to send the event to Plausible. Example:
<input type="button" value="My Button" id="my-form-button" />

<script type="text/javascript">
    const myButton = document.getElementById('my-form-button');
    if (myButton) {
        myButton.addEventListener('click', function() {
            plausible('my-form-button'); // "my-form-button" is the Plausible goal event name
        });
    }
</script>
Changelog
1.1.1
Fix service scope on Prestashop 8
1.1.0
Account registration goal added
Fix checkout goal JS step error
Allow to send multiple events on the same page
1.0.1
Support for self-hosted plausible instance (@atmaniak)
1.0.0
First stable release
Contributors


Similar Projects